 MochiSim
July 20, 2026
How to Backpack Thailand, Vietnam and Indonesia
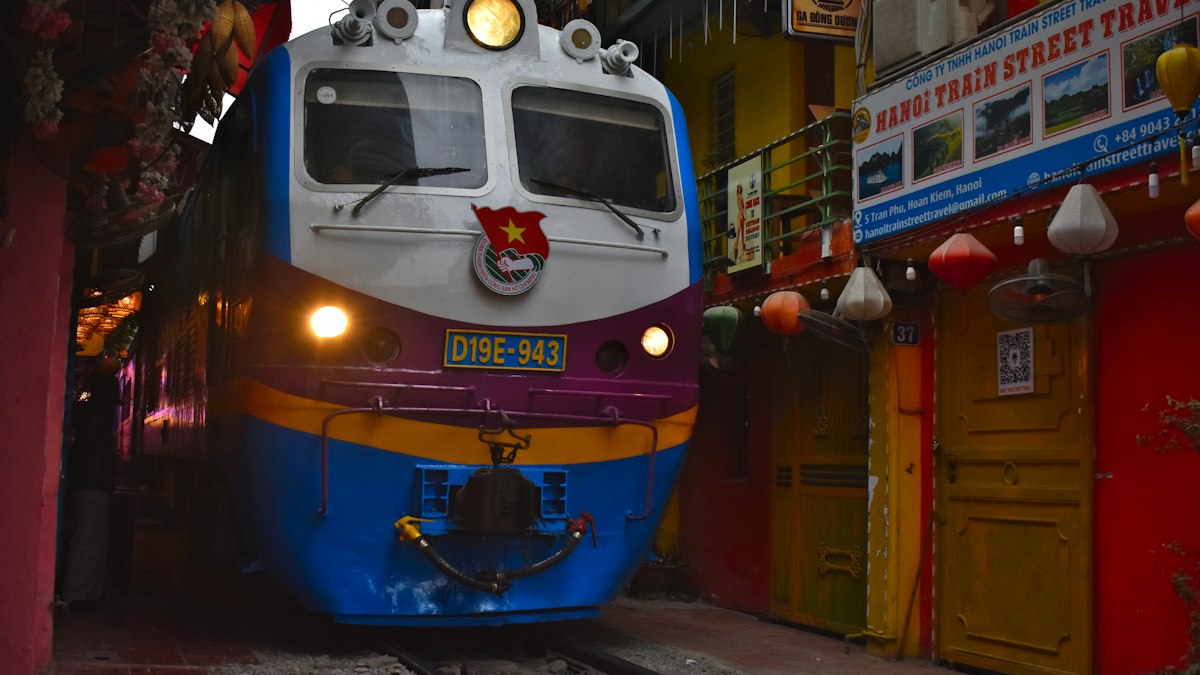
A practical Southeast Asia backpacking route links Thailand, Vietnam and Cambodia overland, then continues through Malaysia to Indonesia by air or ferry. Allow roughly eight to twelve weeks for the full journey; with less time, choose fewer countries rather than turning the trip into a prolonged tour of bus stations.
Treat the route as a framework, not a booking schedule carved into stone. Weather, entry rules and the discovery of a beach you rather like can all change the plan.
Which Southeast Asia backpacking route makes sense?
The simplest route starts in Thailand, crosses mainland Southeast Asia, and finishes in Malaysia or Indonesia. You can travel in either direction, although Bangkok is a convenient starting point because it has plentiful onward transport and gives you a relatively gentle introduction to the region.
A popular sequence looks like this:
- Begin in Bangkok and northern Thailand. Spend time in Bangkok before travelling north towards Chiang Mai or Chiang Rai. This gives you markets, temples, mountain scenery and a chance to recover from the flight before the longer overland legs begin.
- Continue through Laos, or fly directly to Vietnam. Laos suits travellers who want a slower route through places such as Luang Prabang and Vang Vieng. If time is tight, skip it without guilt and head straight to Hanoi.
- Travel through Vietnam from north to south. Hanoi, the northern mountains, the central coast and Ho Chi Minh City form a natural line. Vietnam is long, so leave room for overnight journeys and the occasional strategic flight.
- Add Cambodia. From southern Vietnam, continue towards Phnom Penh and Siem Reap. Border procedures and available bus routes can change, so confirm the current crossing arrangements before departure.
- Return to southern Thailand or continue through Malaysia. The islands and coastal areas make a good change of pace after weeks of cities and road travel. Malaysia then provides an overland path towards Kuala Lumpur and Singapore.
- Finish in Indonesia. Most travellers fly from Malaysia or Singapore to an Indonesian gateway, then focus on one region rather than trying to cover the entire archipelago. Java and Bali combine easily; travelling farther east requires more time and more transport planning.
This is not a perfectly continuous trail. Indonesia, in particular, turns the journey into a mixture of flights, boats and land transport. That is part of the appeal, though perhaps less appealing when you are watching rain blow sideways across a ferry terminal.
How long do you need for the route?
Eight to twelve weeks gives you enough time to combine several mainland countries with part of Indonesia without moving every other day. Travelling more slowly usually improves the trip and can make your budget easier to manage.
Use these broad time frames:
- Four to six weeks: Choose Thailand and Vietnam, then add either Cambodia or one part of Indonesia.
- Eight to twelve weeks: Follow most of the route, but limit Indonesia to one or two neighbouring areas.
- Three months or longer: Add Laos, spend longer in northern Vietnam, travel down the Malay Peninsula and explore Indonesia at a calmer pace.
Count travel days honestly. An overnight bus may save a night in a room, but it rarely leaves you feeling eager to explore at sunrise. Islands also consume time through transfers, waiting and weather delays.
Before fixing the order, compare seasonal conditions across the whole route. Rain patterns vary considerably between mainland Southeast Asia and different parts of Indonesia, so there is no single month that guarantees ideal weather everywhere.
What is the best way to travel between stops?
Use trains and buses for straightforward mainland journeys, then consider flights when distance, borders or islands make overland travel awkward. Booking every transfer months ahead removes flexibility, while booking everything at the final minute can leave you with poor departure times or sold-out sleepers.
The usual options are:
- Trains: Useful on major corridors in Thailand, Vietnam and Malaysia. Sleeper services can replace a hotel night, but check recent carriage reviews and departure stations before booking.
- Long-distance buses: Often the most direct link between backpacker stops. For border journeys, confirm whether the operator guides passengers through formalities or merely drops them near the crossing.
- Minivans: Convenient for shorter routes, although luggage space can be optimistic. If you carry a large backpack, ask how bags are handled.
- Flights: Sensible for reaching Indonesia, crossing Vietnam quickly or avoiding a punishing chain of connections. Check baggage rules directly with the airline.
- Ferries and speedboats: Essential for many islands, but schedules may change with weather and local conditions. Keep a spare day before an international flight.
- Local ride-hailing and taxis: Availability varies by city and island. Use official booking channels where possible, and check the pickup point before wandering around a terminal with your backpack on.
Do not assume the route shown by a map app is open to foreign travellers. Border posts, visa arrangements and transport services change. Government travel advice and official immigration sources should have the final word.
Can you backpack Southeast Asia on a controlled budget?
Yes, but your route and travel pace matter more than obsessive daily accounting. Frequent flights, private rooms in resort areas and changing islands every few days will use your budget faster than slow overland travel and longer stays.
A workable approach is to divide your spending into categories:
- International and regional transport
- Accommodation
- Food and drinking water
- Local transport and activities
- Visas or entry requirements
- Mobile data, laundry and other routine needs
- Emergency funds and travel insurance
Track spending by country rather than panicking over one expensive day. A long transfer or diving trip can distort a daily target, while several quiet days in one place may balance it out.
The sceptical view is that leaving plans flexible always leads to higher costs. Sometimes it does, especially around festivals, public holidays and popular island routes. The compromise is to reserve your first stay, major flights and any must-do experience, while leaving ordinary bus journeys and flexible stops until your route is clearer.
It also helps to set rules you will actually follow. You might choose dorms in expensive cities but private rooms in smaller towns, or take overnight transport only when the journey is long enough to justify the poor sleep. A budget that makes you miserable is merely an itinerary with extra paperwork.
What should you pack for several countries?
Pack for heat, humidity, rain and aggressive air conditioning, not for every imagined emergency. A smaller bag is easier to carry onto trains, fit into minivans and haul upstairs when your guesthouse has no lift.
Useful items include:
- Lightweight, quick-drying clothes
- A modest outfit covering shoulders and knees for religious sites
- A thin waterproof layer
- Comfortable walking shoes and simple sandals
- A small padlock
- Refillable water bottle
- Basic first-aid supplies and any regular medication
- Universal plug adaptor with USB ports
- Power bank that meets current airline rules
- Dry bag or waterproof pouch for boat journeys
- Copies of your passport, insurance details and onward bookings
Leave room for laundry rather than packing a clean outfit for every day. Laundry services are widely found in traveller areas, but availability and turnaround vary, so keep one clean set in reserve.
Check airline cabin and checked-baggage limits for each booking. Regional carriers may have different rules, and a bag accepted on the long-haul flight is not automatically suitable for every later journey.
How do you stay connected across several countries?
A regional travel eSIM can reduce the need to buy and replace a physical SIM in every country, but you must check its included destinations, supported networks and activation instructions. Coverage and performance depend on your location, device and the local partner network.
Before relying on an eSIM, confirm that:
- Your phone supports eSIMs according to the manufacturer’s specifications
- The handset is unlocked for use with another mobile provider
- Every country on your likely route appears in the eSIM’s current coverage list
- You understand when the plan activates
- Data roaming is enabled for the eSIM when required
- Your usual number can remain active if you need banking codes or messages
Install the eSIM while you still have dependable Wi-Fi, but follow its instructions before activating it. Many dual-SIM phones let you keep your normal number for calls and texts while using the travel eSIM for mobile data. Settings differ, so check which line is selected for data after each flight or border crossing.
A regional eSIM is convenient, not magical. Remote islands, mountain roads and national parks may have limited service regardless of what is installed on your phone. Download offline maps, transport confirmations, accommodation addresses and translation packs before long journeys.
Keep the eSIM QR code and manual installation details somewhere other than the phone receiving them. A screenshot stored only inside an email account you cannot open without data is a small but remarkably effective travel trap.
Stay connected wherever you travel
Instant eSIM data plans, wherever you're going. No physical SIM, no roaming surprises.