 MochiSim
September 4, 2026
How do you install an eSIM on a Samsung Galaxy?
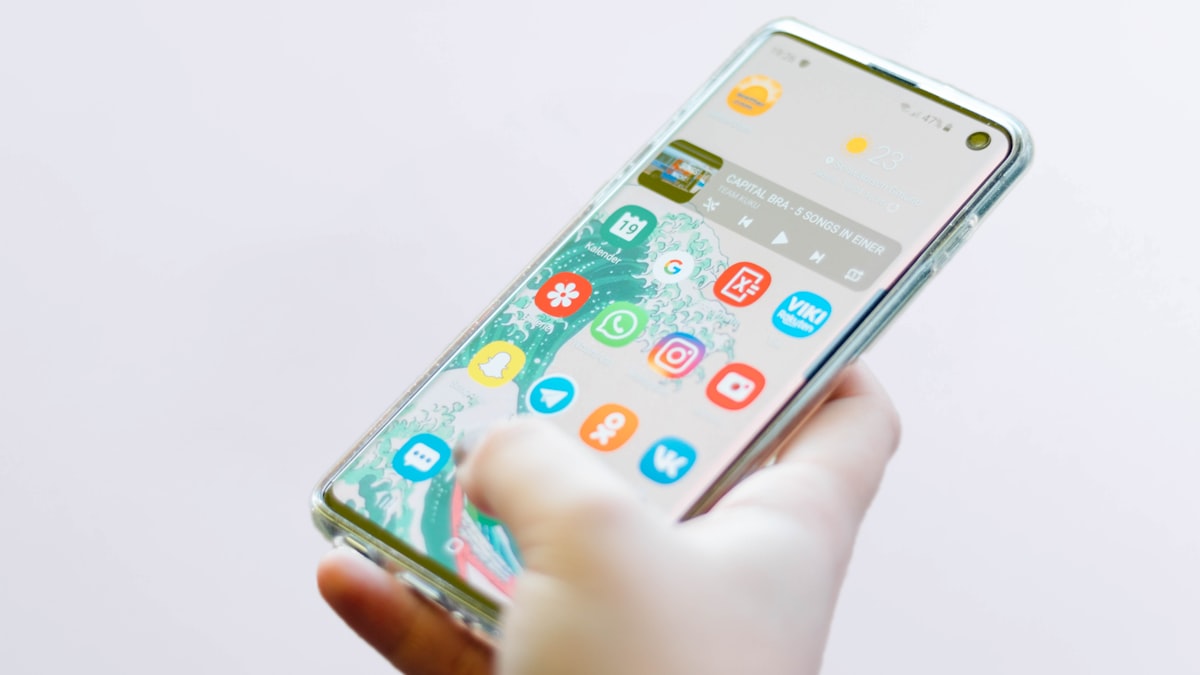
You can usually install an eSIM on a compatible Samsung Galaxy by opening Settings > Connections > SIM manager > Add eSIM, then scanning the QR code supplied by your eSIM provider. Once it is installed, choose the eSIM for mobile data and follow the provider’s instructions on data roaming.
The wording may differ slightly between Samsung models and One UI versions, but the process is much the same. Allow a few quiet minutes and do it while you have reliable internet, rather than in the airport taxi queue with one hand on your luggage.
Does your Samsung Galaxy support eSIM?
Your phone must have eSIM hardware, compatible software and permission from its original carrier to use another network.
Many recent Samsung Galaxy S, Z Flip, Z Fold and selected Note models support eSIM. Support is less consistent across the Galaxy A range and older phones. More importantly, two phones with the same marketing name can have different capabilities because Samsung produces regional and carrier-specific variants.
Do not rely on the model family alone. Check the exact device in your hand:
- Open Settings > Connections > SIM manager and look for Add eSIM.
- Open the phone dialler and enter
*#06#. An EID listed with the IMEI numbers is a strong sign that the phone includes eSIM hardware. - Find the full model number under Settings > About phone, then compare it with Samsung’s current support information.
- Ask the carrier that supplied the phone whether it is network-unlocked.
- Install pending software updates, as eSIM options can depend on the operating system and carrier configuration.
If there is no Add eSIM option and no EID, the phone probably cannot install one in its present configuration. A software update may help in some cases, but it cannot add missing hardware.
What do you need before installing the eSIM?
You need an unlocked, eSIM-capable Samsung phone, a stable internet connection and the installation details from your provider.
Have these ready before opening the settings menu:
- The eSIM QR code, displayed on another device or printed clearly.
- Any manual activation code or confirmation code supplied with it.
- Wi-Fi or another working internet connection.
- The provider’s installation and activation instructions.
- Access to your email or account in case you need to retrieve the details again.
A QR code cannot be scanned when it is displayed on the same phone unless the provider or your Samsung software offers an import-from-image option. The dependable approach is to open it on a laptop, tablet or travelling companion’s phone.
Treat the QR code like account information. Do not post it in a group chat or leave a printout behind on the hotel desk. Some installation codes can only be used once, so avoid deleting an installed eSIM merely to tidy the SIM manager screen.
How do you install an eSIM using a QR code?
Install it from Samsung’s SIM manager, where the phone can scan the provider’s QR code and download the mobile profile.
- Connect your Galaxy phone to reliable Wi-Fi.
- Open Settings.
- Tap Connections.
- Tap SIM manager. On some older software, this may be called SIM card manager.
- Select Add eSIM. Some versions may instead show Add mobile plan.
- Choose Scan QR code or the equivalent camera option.
- Display the provider’s QR code on another screen or on paper, then place it inside the scanning frame.
- Review the plan shown by the phone and tap Add, Download or Confirm.
- Wait for the installation to finish without closing Settings or disconnecting from Wi-Fi.
- Give the eSIM a useful label, such as the destination or “Travel data”, if Samsung offers that option.
If your provider supplied manual details rather than a QR code, look for Enter activation code, Enter details manually or Need help? on the Add eSIM screen. Copy the information exactly. A stray space is enough to turn this into a surprisingly dull ten minutes.
Installation and network activation are not always the same event. Some travel eSIMs become active when installed, while others wait until they connect to a supported network. Check the provider’s instructions before installing, particularly if your departure is still some time away.
How do you use the eSIM for mobile data?
Choose the new eSIM as your preferred mobile-data line and prevent your home SIM from quietly using data abroad.
Go to Settings > Connections > SIM manager and review the preferred SIM settings. Samsung may let you assign different lines to calls, messages and mobile data. A common travel arrangement is:
- Mobile data: travel eSIM
- Calls: home SIM, if you need to receive calls or verification messages
- Messages: home SIM or your preferred line
- Data switching: off, unless you understand when Samsung will fall back to the other SIM
Next, open Settings > Connections > Mobile networks. Many travel eSIMs require Data roaming to be turned on for the eSIM because they connect through partner networks. Follow your provider’s instructions rather than assuming. If Samsung shows separate roaming controls for each SIM, make sure you are changing the travel eSIM, not the home line.
To reduce the chance of unintended roaming on your usual SIM, disable that SIM’s data access or switch the line off temporarily in SIM manager. Turning off the line also stops calls and texts to that number, so leave it enabled without data if receiving messages matters to you.
Samsung’s menu labels vary. If you cannot see which SIM a setting applies to, rename the lines first. “SIM 1” and “eSIM 1” are not especially helpful after an overnight flight.
What should you do if the eSIM will not connect?
Start with the simple checks: confirm that the eSIM is enabled, selected for mobile data and configured as the provider instructs.
Work through these steps in order:
- Open SIM manager and make sure the eSIM switch is on.
- Confirm that the eSIM is selected under Mobile data.
- Check whether Data roaming needs to be enabled for that line.
- Turn aeroplane mode on, wait briefly, then turn it off.
- Restart the phone.
- Under Mobile networks, leave network selection on automatic unless the provider tells you to choose a particular network.
- Check the Access Point Names menu and compare the APN with the provider’s instructions. Do not guess the values.
- Confirm that you are in the destination or coverage area described by the provider.
- Check for a Samsung software update while connected to Wi-Fi.
If the QR code is rejected, it may already have been used, entered incorrectly or tied to a different device. Do not delete the eSIM profile before contacting support unless the provider explicitly asks you to. Reinstalling may require replacement activation details.
A signal indicator without working internet often points to the wrong data SIM, roaming setting or APN. No network at all may instead mean the eSIM is disabled, the phone is locked, the local partner network is unavailable where you are, or activation has not completed.
Should you keep your physical SIM active as well?
You can often keep a physical SIM and an eSIM active together, but the exact dual-SIM behaviour depends on the Samsung model, region and carrier software.
Keeping your usual line active is useful when a bank sends a login code or someone insists on calling your normal number. The catch is that calls and messages may still be treated as roaming by your home carrier, and automatic data switching can move internet traffic back to that line.
Before departure, check:
- Which line Samsung has selected for mobile data.
- Whether automatic data switching is disabled.
- Whether your home line can receive messages without using mobile data.
- Which SIM will be used when you place a call.
- Whether apps such as WhatsApp still show the number you expect.
Installing an eSIM does not normally change the number registered with messaging apps by itself. If an app asks whether you want to replace your number, read the prompt carefully rather than tapping through on autopilot. Your group chat can survive without an unexpected identity crisis.
Stay connected wherever you travel
Instant eSIM data plans, wherever you're going. No physical SIM, no roaming surprises.